Wednesday, July 30, 2008
I'm so excited!
I have wanted one for ages, and have been tossing up which one to buy. I have decided on this one, as it has a bigger motor, and comes with extra attachments. I shopped around and got a good price from a catering supplier in Erina, and they do free delivery. Double Yay! It will make cakes and icing so much easier. As my poor little hand held mixer cops a hiding!
The manager of the store thinks she may be able to get it to me by Friday, but if not Monday.
It was sorta scary spending so much money on one thing, Adam buys expensive things all the time, so I thought why not. And my tax cheque paid for it, well nearly all of it anyway.
I will take a photo of it set up when it arrives.
Ooh what to make first?
Friday, July 25, 2008
My Completed Tafe Project.
 The cakes I had to cook them separately, as they had to go on the centre shelf in the oven, and my oven wasn't large enough to do a 10" & a 7" together.
So anyway, this is the final result.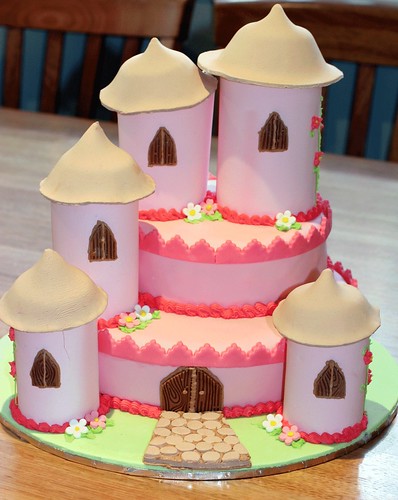
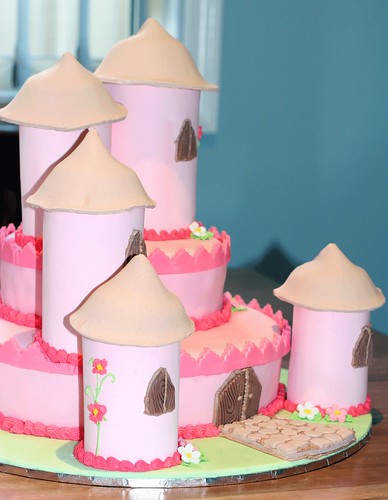
 It was a good learning cake, although I probably should have chosen something a bit simpler. It has quite a few mistakes, but overall I am happy with the result.
 Cupcake Hero - Red, White & Blue
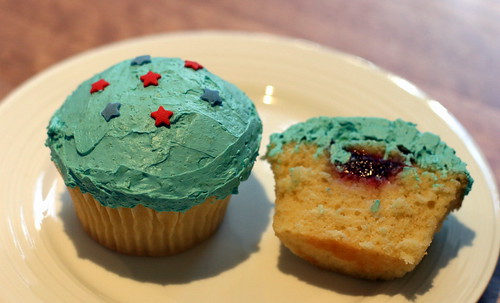 Coconut Cupcakes
Crabapple Bakery
Makes 24
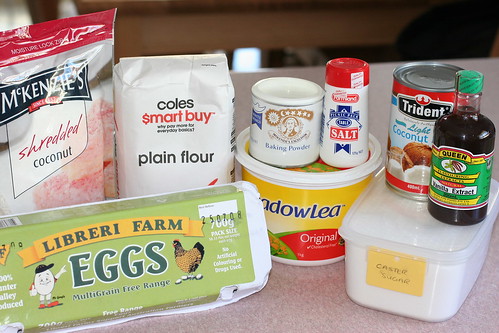
Ingredients
3/4 cup shredded coconut
2 1/3 cups plain flour
1/4 teaspoon salt
2 teaspoons baking powder
3 eggs
3 egg whites, extra
200g softened unsalted butter (I used margarine)
1 3/4 cups caster sugar
1 Tablespoon vanilla extract
1 cup coconut milk
 Method
Preheat oven to 170 degrees Celsius, Line two 12-hole trays with cupcake papers.
Using a food processor, process the coconut until very fine. Add coconut to a bowl with sifted flour, salt and baking powder. Mix until combined.
In a separate bowl combine eggs and egg whites. Do not beat.
In another bowl, cream the butter for 1-2 minutes. Add the caster sugar a third at a time, beating for 2 minutes after each addition. After the last addition, beat until mixture is light and fluffy and the sugar has almost dissolved.
Add the eggs a quarter at a time, beating for 1 minute after each addition or until the mixture is light and fluffy. Add the vanilla extract and beat until combined.
Add a third of the flour mixture and beat on low speed until combined. Add half the coconut milk and beat until combined. Repeat this process. Add the remaining third of the flour mixture and beat until thoroughly combined; do not over-beat as this will toughen the mixture.
Spoon into cupcake papers, filling each about 3/4 full. Bake for 18 minutes or until a fine skewer inserted comes out clean. Remove cupcakes from the trays immediately and cool on a wire rack for 30 minutes before frosting.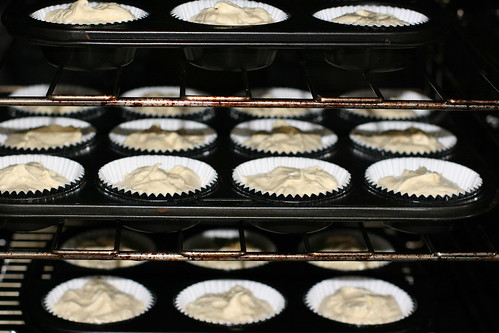
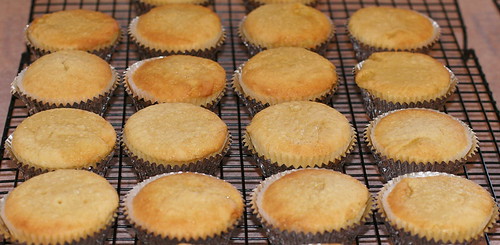
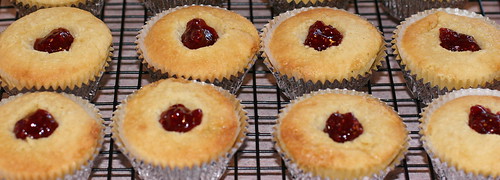 Then I cut a sliver of the piece I cut out, and placed in on top of the jam.
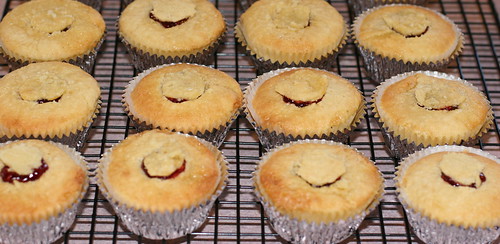 Then they were ready to ice. I had no idea what to have for the blue, so I decided to tint the icing blue.
Coconut Butter Cream Frosting
Ingredients
188 grams butter, room temperature (I used margarine)
1/4 cup milk
1 teaspoon vanilla
2 cups icing sugar
1 cup shredded coconut
blue food colouring
Method
Beat butter, scrape bowl.
Add the sifted icing sugar, beat, then add milk and vanilla.
Beat until smooth.
Add colouring, in small amounts, till you reach the desired colour.
Add coconut and mix until combined.
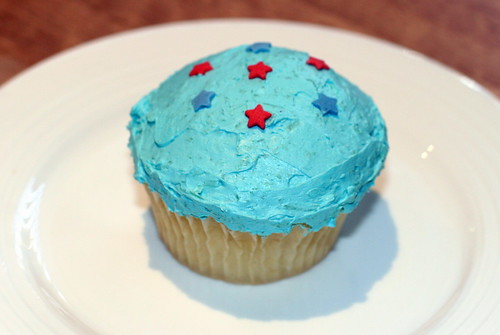
These are my new favourite (non-chocolate) cupcake. they are so yummy.
Monday, July 14, 2008
My Chocolate Fix
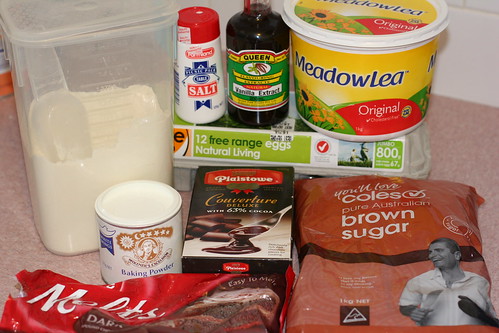 Method
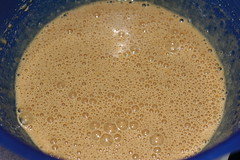
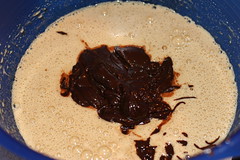
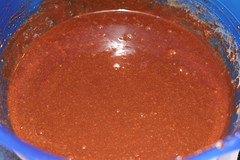
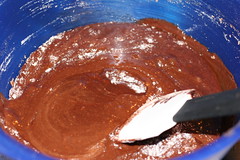
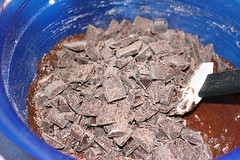
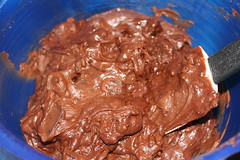
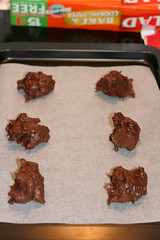
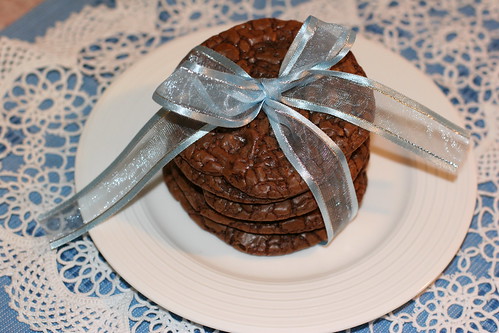
Harrison has Conjunctivitis
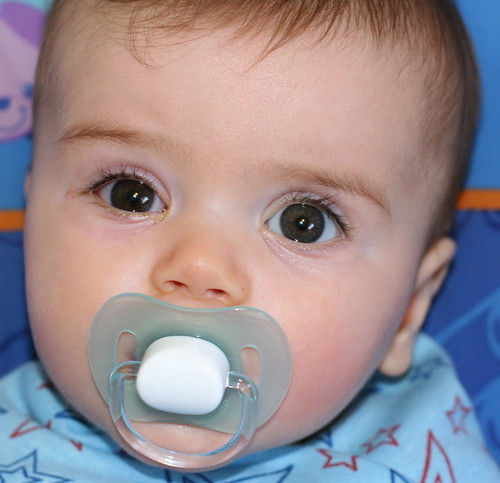 Poor bubba!
Sunday, July 13, 2008
7 days to go!
In 7 more days Adam & I are going to Sydney to see Dralion by Cirque du Soleil. I am so excited, it will be the 3rd show we have seen, we saw Quidam in 2004, and Varekai in 2006.
Best of all we have front row seats in the Tapis Rouge section of the show.
We want to buy a 4wd

Here is the photo of the Cruiser, (wer'e not getting a boat, but its the best photo I could find).
I quite like the front end, but TBH, I think the back looks like an old cruiser or jackeroo. We drove to Chullora yesterday to look at one, (it was the only one in NSW), and took it for a test drive. It drives like a truck, well Adam said it is a truck, so what did you expect. But, it was uncomfortable, and rough. I don't like it.
Anyways, we get back to the dealership, and he says do you want to look at the Prado? I was like "Yes please", I had stopped looking at Prado's over a month before, as Adam doesn't like them. So I went and sat in one, Oh my, it was beautiful. (If you can call a 4wd that, lol). It was so comfortable, it had air conditioning (the Cruiser it was an optional extra "$2500" extra), and cup holders, lol.

Here is a photo of the Prado.
So anyway, we came home very undecided. Adam still wants his Cruiser, I still want the Prado.
Later that night, I went out for dinner with some friends, and when I came home, he had printed out all the spec sheets on the Prado (Yay, he's coming round). And has started comparing them. He still isn't happy that the Prado is only 4 cylinder, (the Cruiser is a V8), but I am hoping he will get over that.
He rang this morning, and said we can go test drive one next Saturday (Yay).
So I'll keep you posted.
Monday, July 7, 2008
Caramel Mud Surprise Cupcakes
Method
This is where my recipe changes slightly.
 8. Place 1 lolly into the middle of mix.
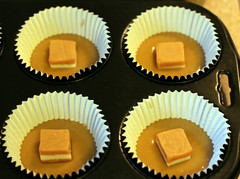 9. Then divide remaining mixture between papers.
 10. Bake for 30 minutes, ( I rotated my tray, after 15 minutes, as one side of my oven is hotter than the other ).
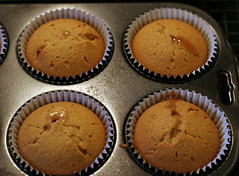 11. Remove cupcakes from tray and allow to cool on a wire rack.
Saturday, July 5, 2008
Harrison 8 months old

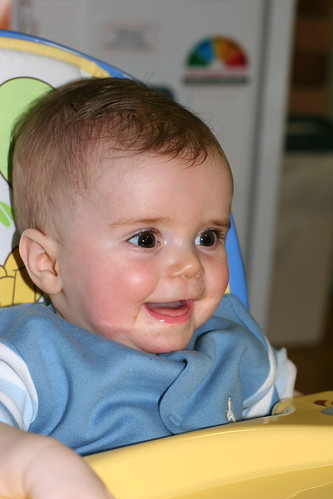 He is starting to be so funny, he smiles and laughs at most things, and is constantly chatting away. He will eat absolutely anything too. The second photo was taken on my Birthday, (will post some birthday pics later on) after dinner, in his portable high chair.
Friday, July 4, 2008
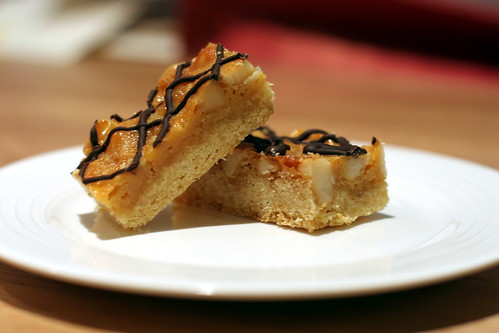
Caramel Macadamia Slice
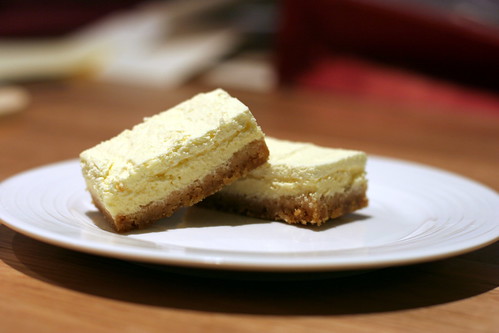
Lemon Cheesecake Slice
