I have been wanting to enter the
Cupcake Hero for a while now, so I thought I might as well have a go. I am no where near as imaginative as most of the other entrants, but Hey, I don't need much of an excuse to make cupcakes do I?
Basically the cupcake must have the 3 colours in it, and if you must use food colouring, you can only use it for one of them.
I decided to make Raspberry (red) filled Coconut (white) Cupcakes with Coconut Butter Cream Frosting (blue).
 Coconut CupcakesCrabapple BakeryMakes 24Ingredients3/4 cup shredded coconut2 1/3 cups plain flour1/4 teaspoon salt2 teaspoons baking powder3 eggs3 egg whites, extra200g softened unsalted butter (I used margarine)1 3/4 cups caster sugar1 Tablespoon vanilla extract1 cup coconut milk
 Method
Preheat oven to 170 degrees Celsius, Line two 12-hole trays with cupcake papers.
Using a food processor, process the coconut until very fine. Add coconut to a bowl with sifted flour, salt and baking powder. Mix until combined.
In a separate bowl combine eggs and egg whites. Do not beat.
In another bowl, cream the butter for 1-2 minutes. Add the caster sugar a third at a time, beating for 2 minutes after each addition. After the last addition, beat until mixture is light and fluffy and the sugar has almost dissolved.
Add the eggs a quarter at a time, beating for 1 minute after each addition or until the mixture is light and fluffy. Add the vanilla extract and beat until combined.
Add a third of the flour mixture and beat on low speed until combined. Add half the coconut milk and beat until combined. Repeat this process. Add the remaining third of the flour mixture and beat until thoroughly combined; do not over-beat as this will toughen the mixture.
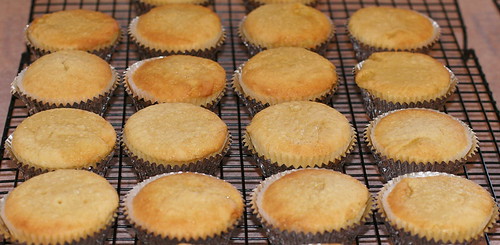
Spoon into cupcake papers, filling each about 3/4 full. Bake for 18 minutes or until a fine skewer inserted comes out clean. Remove cupcakes from the trays immediately and cool on a wire rack for 30 minutes before frosting.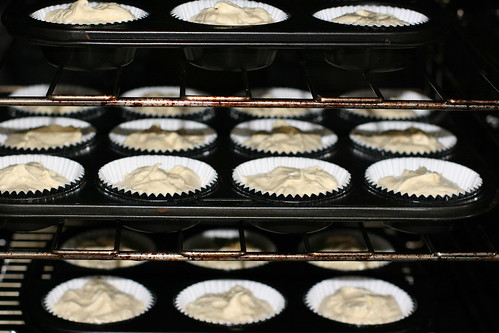
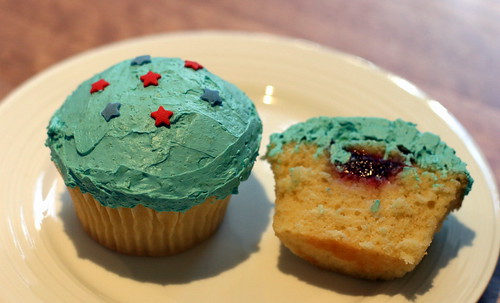
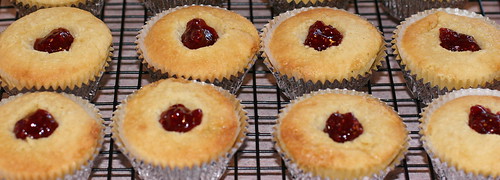
I wanted to fill the cupcakes with something red, and I love coconut with raspberry, so I then got a small paring knife and cut a small cone shape out of the top of the cupcake, and filled with approx 1/2 teaspoon of my favourite raspberry jam.
 Then I cut a sliver of the piece I cut out, and placed in on top of the jam.
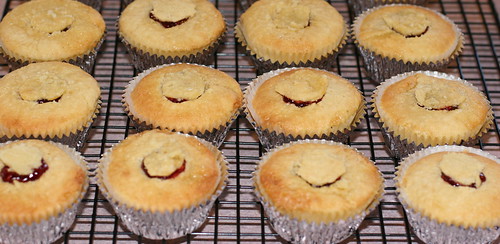 Then they were ready to ice. I had no idea what to have for the blue, so I decided to tint the icing blue.
Coconut Butter Cream Frosting
Ingredients
188 grams butter, room temperature (I used margarine)
1/4 cup milk
1 teaspoon vanilla
2 cups icing sugar
1 cup shredded coconut
blue food colouring
Method
Beat butter, scrape bowl.
Add the sifted icing sugar, beat, then add milk and vanilla.
Beat until smooth.
Add colouring, in small amounts, till you reach the desired colour.
Add coconut and mix until combined.
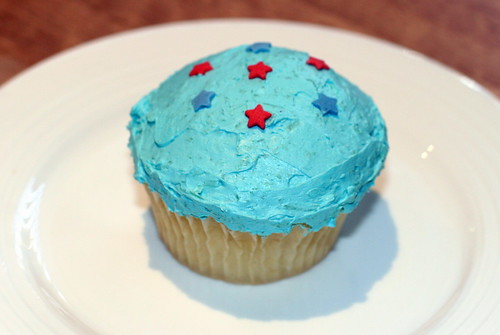
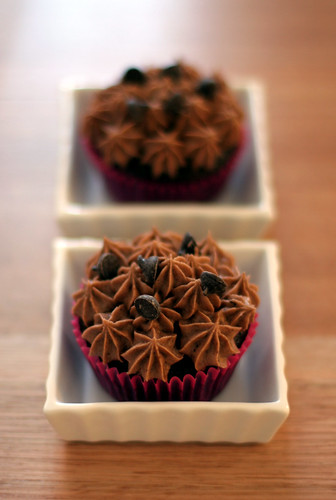
These are my new favourite (non-chocolate) cupcake. they are so yummy.


 Keenan


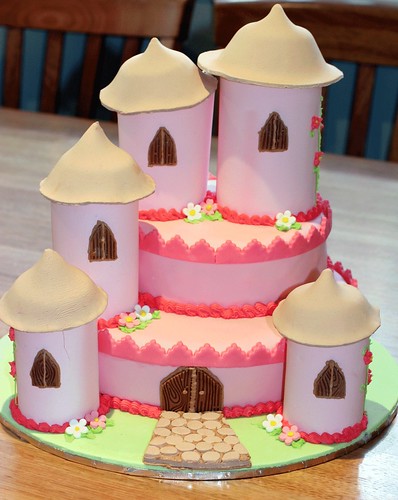
 The colours in this photo are better. More true to life.
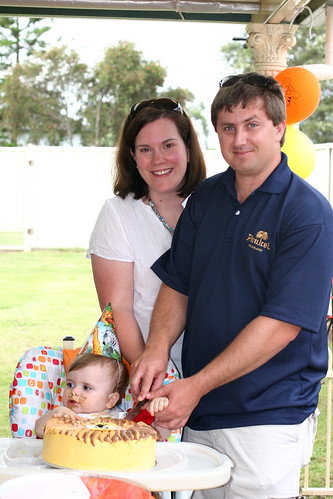
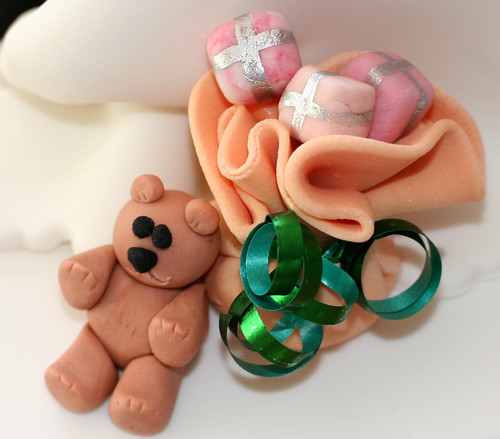
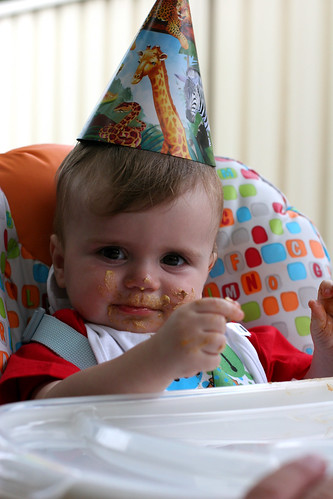
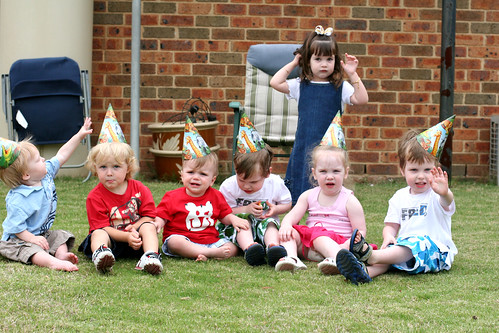 The kids at the party
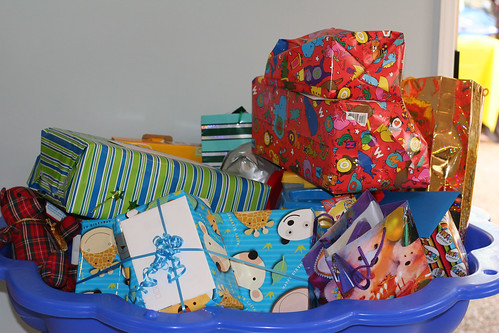 The big stack of presents. he was one spoilt boy!
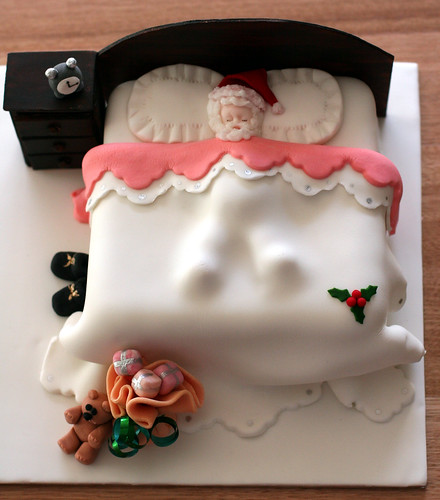
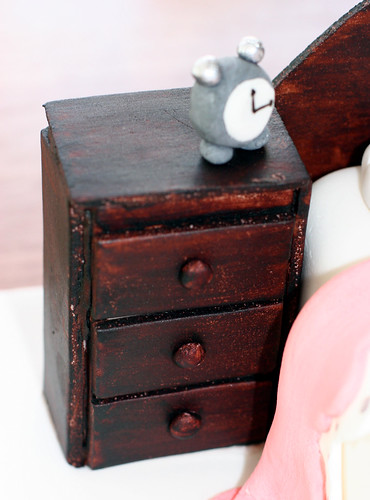
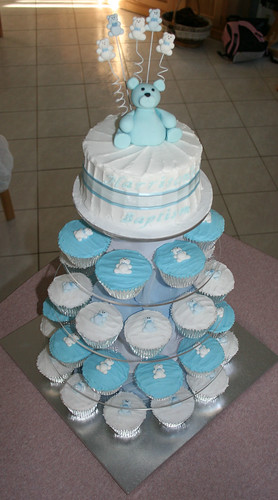
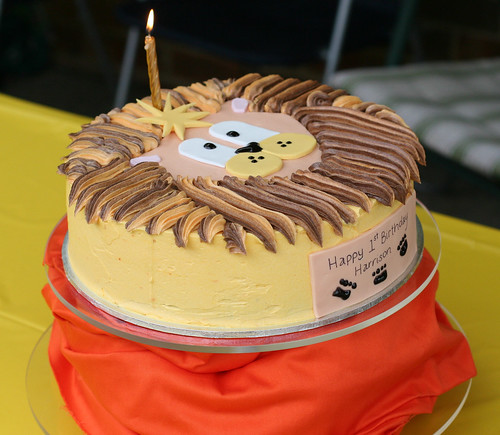
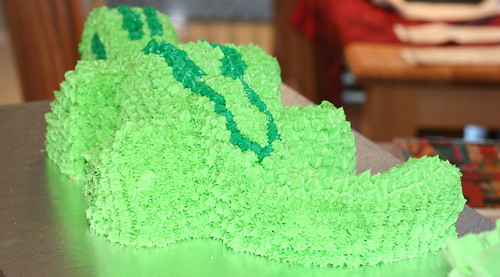
 The cake


 .
.


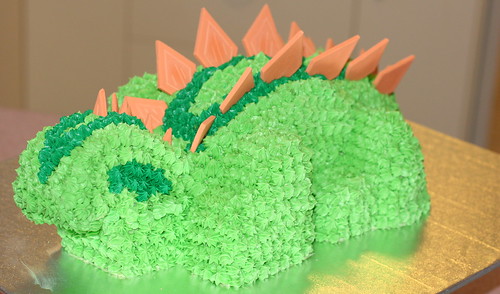
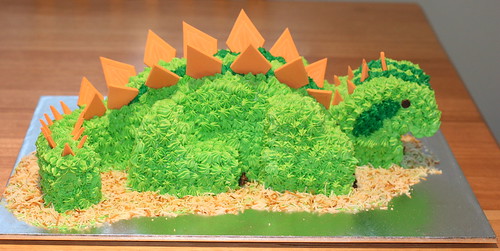


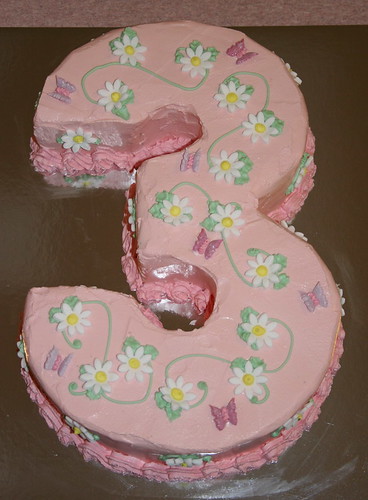
 It was a good learning cake, although I probably should have chosen something a bit simpler. It has quite a few mistakes, but overall I am happy with the result.