Wednesday, December 31, 2008

31-12-2008

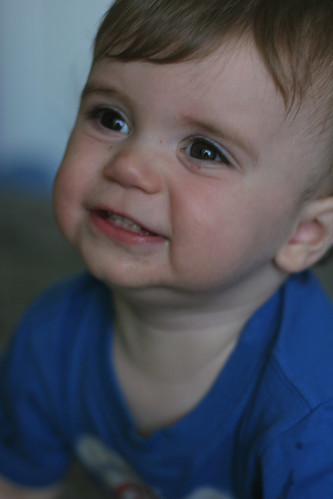
Well, this will be the last post for what has been a very eventful year! Next year, I hope to spend more time with my friends and family, keep my blog up to date, and my NY resolution is to try to swear less.
So from Harrison, Adam & I, we wish you all a very Happy & Safe 2009.

Say cheese!


Thursday, December 18, 2008

Sunday, December 14, 2008

My Most Favourite Dessert

Growing up, this was always my favourite dessert, I made my mum make it for all of my Birthdays. I had a copy of the recipe, and I lost it quite a few years ago. Well, yesterday, whilst attempting to clean up our spare room, I found my little book of hand written recipes. I know Mum had the recipe, but have no idea of its origin. I have adapted it to make it yummier, Lol.

Choc Mint Cheesecake

Base

250 grams Nice biscuits
2 Tablespoons cocoa
90 grams margarine (melted)

Crush biscuits finely, add cocoa, mix well. Stir in melted butter. Press mixture on to the base and sides of a 9" spring form cake tin. Refrigerate.

Filling

500 grams Philadelphia cream cheese (room temperature)
2/3 cup white sugar
2 teaspoons vanilla extract
1 Tablespoon water
1 block Peppermint chocolate ( I use Nestle Club Peppermint Dark Chocolate)
2/3 cup white sugar
2 teaspoons gelatin
2 cups thickened cream (whipped)
1 Tablespoon water (extra)

Beat cream cheese, sugar and vanilla until smooth.

Sprinkle gelatin over water in a small dish. Place dish into a a larger dish, and pour hot water into larger dish. Stir gelatin until dissolved. Once dissolved remove from hot water bath, and let cool. Add to cream cheese mixture, beat well.

Fold in whipped cream.

Spoon mixture into base.

Place chocolate and extra water into a heat proof bowl (one that is bigger than a small saucepan). Place a small sauce pan onto stove, put about 2cm of water in, and boil. Once boiled turn down to low, and place bowl on top. Stir chocolate until melted, remove from stove and cool slightly.

Spoon chocolate mixture over cream cheese mixture, and swirl mixture with a spoon.

Refrigerate for 2-3 hours.

Additions

As I love peppermint, I added about 4 Tablespoons of Creme De Menthe into the cream cheese mixture, Yum Yum.
Even if your not a fan of dark choclate, please use the one specified.

Saturday, December 6, 2008

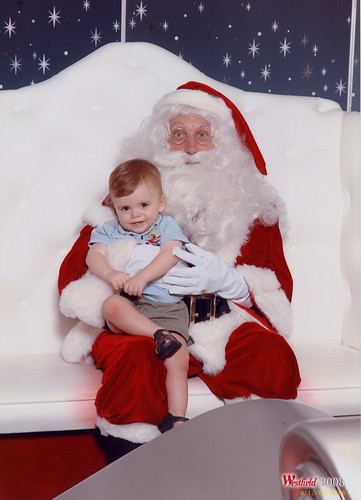
Harrison & Santa

Today we took Harrison for his Santa photos. We are so happy with this years photo. He was perfect, and went to Santa straight away.

Monday, December 1, 2008

Sunday's Cake Class

On Sunday I went to a cake decorating class, at the teacher's house. It was great. the class was for a "Sleeping Santa" cake. We had to take a 7" iced cake on a board, and the cutouts of the head board and bed side table in with us. I decided to make mud cake, as I'm not a huge fan of fruit cake.
Once we got there, she showed us how to put the bed side table together, then we painted it, and stuck it and the head board onto the cake board. Then we were shown how to make Santa. From then on it was free time, we could do what ever we wanted with the cake, and if we needed any advice or help she was there.
I decided to make Santa sleep like a starfish, just like my husband.
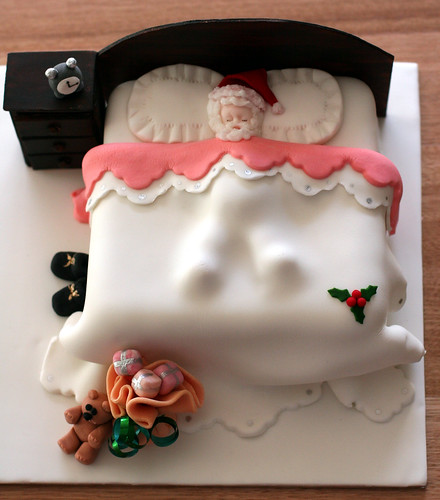
The completed cake
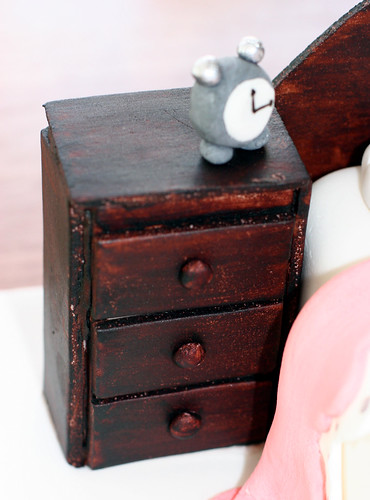
Bedside table

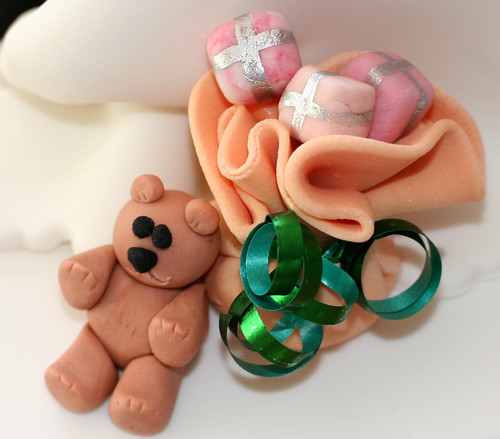
Toy sack & bear

The only thing not edible was the curling ribbon. I am so happy with the finished cake. I ended up using 2kg of RTR icing, and 1/2 a kilo of modelling paste.

I already have 1 order!
Sunday, November 16, 2008

In the past..

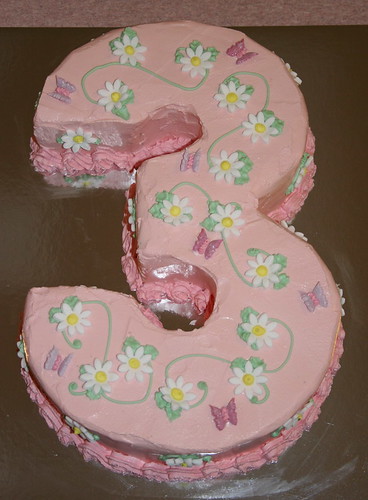
I thought this morning, since this is a blog about me and my cakes, that I should post some photos of other cakes I have made. I have made quite a few more than this, but back then, didn't think to photograph them. Amelia's Number 3 cake.
The request was for white chocolate mud cake, pink and girly.

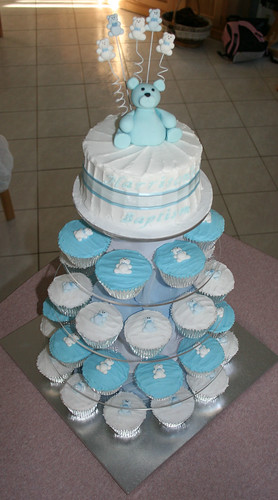
Harrison's Baptism Cupcake Tree
The top layer was actually the top layer of our wedding cake
Top - Cherry ripe mudcake
Blue cupcakes - Chocolate mud
White cupcakes - White chocolate mud

Tayla's 9th Bratz Cake

Tracey's 28th Bunny Cake
My best friend told me that she had never had a Birthday cake, she has now!


Friday, November 14, 2008

My first cupcake sale!

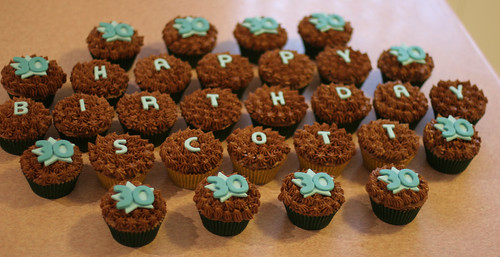
Yesterday I completed my first cupcake order! It was for a 30th Birthday, and basically they had to be chocolate mud cake, and boyish, oh and 30 of them. The rest was up to me.

So I coloured some RTR icing, rolled it out, got out my cutters and set to work. I managed to get all of the decorations cut out by Tuesday afternoon, they were quite easy to do. I made the cupcakes yesterday morning, iced and decorated yesterday afternoon, and they were collected this morning.
How they were to be set out.
I quite like just these ones on their own too.
(In one level of my Cupcake Courier)

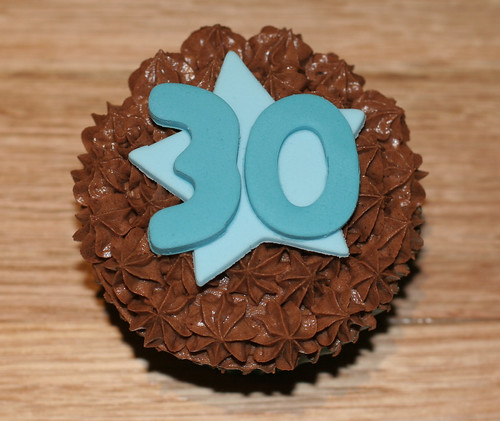
Close up
Chocolate Mud Cupcake w/ Chocolate Buttercream & RTR icing decorations